“How To Do a Manicure at Home” is a question that many women wonder about when they want to have neat, elegant nails and beautiful hands without going to a salon. With just a little skill and a few basic tools, you can easily create a manicure in your own style. This article will reveal 10 Easy Steps To A Manicure At Home that are highly effective and absolutely worth trying!
Advantages of DIY Manicures
When it comes to nail care, many people often think of professional salons. However, doing your own nails at home is becoming a popular trend thanks to the flexibility, savings, and comfort it offers. More than just a beauty routine, at-home manicures also bring several surprising benefits, such as:
- Time convenience: No need for appointments or traveling—you can do your nails anytime, right in the comfort of your own space.
- Personalized style: Freely get creative with different shapes, colors, and patterns, tailored to your taste or special occasions.
- Cost savings in the long run: With one-time investment in quality tools, you can reuse them many times instead of spending on salon visits every month.
- Hygiene and safety assurance: Since you control the tools and environment, the risk of infections or nail fungus is greatly minimized.
- Spa-like relaxation: While taking care of your nails, you can also enjoy a soothing atmosphere with soft music, turning the process into a true “self-care” moment.

Doing your nails at home allows you to easily customize styles and colors according to your preferences.
Essential Manicure Tools
To achieve salon-quality nails that are neat, beautiful, and well-groomed right at home, having the right tools is absolutely essential. Some basic items you should include in your manicure kit are:
- Cuticle Nipper: A sharp-edged tool that helps remove excess skin around the nails, keeping the nail edges clean and tidy.
- Nail Nipper: Used to trim nails to the desired length with precision, preventing cracks or splits.
- Curved Blade Cuticle Scissors: Small curved blades designed for delicate trimming and shaping of cuticles.
- Nail Groomer: Helps gently push back cuticles and clean dirt from underneath the nails.
- Cuticle Trimmer with Cap: A compact, convenient tool for trimming excess skin neatly, with a cap for safe storage.
- Nail Clipper: A basic but essential tool—choose a durable one with strong blades for even, straight cuts that prevent nail tearing.
Emery Board: Used to shape nails (round, square, oval, etc.) and smooth the edges after trimming.
Nail Polish: Select your favorite shades to express your personal style. You can also prepare nourishing, glitter, or matte polishes to switch things up for different occasions.
Base Coat & Top Coat: Base coat protects nails from staining and improves polish adhesion, while top coat adds shine and helps the color last longer. - Hand Cream: Keeps your hands and cuticles soft, enhancing the overall look of your manicure.
Once you’ve gathered these essential tools, you’re ready to start your at-home manicure following salon-standard steps, ensuring your nails are not only beautiful but also healthy and elegant.

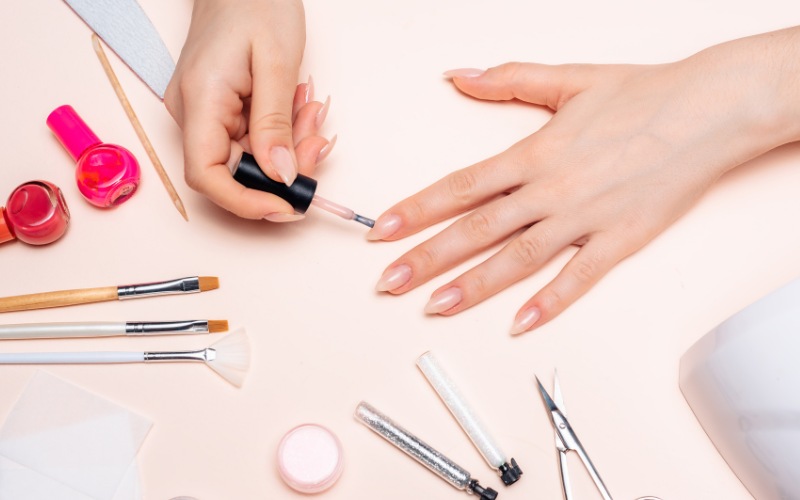
Preparing a set of basic manicure tools makes it easy to achieve stunning nails at home.
10 Easy Steps To A Manicure At Home
To achieve salon-quality nails, you can absolutely do it yourself at home with just a bit of patience and skill. A manicure not only makes your nails neat and shiny but also provides a relaxing self-care experience. Below are 10 salon-standard steps to an at-home manicure that you can easily follow for elegant, attractive hands without stepping into a nail salon.
Step 1: Wash Your Hands
Before starting any manicure step, washing your hands thoroughly is essential. Clean hands not only remove dirt, oil, and bacteria but also create the perfect nail surface for polish to adhere better and last longer.
How to wash your hands properly for a manicure:
- Wet your hands with warm water.
- Use a mild soap or hand cleanser, lather, and scrub thoroughly. Don’t forget to clean between your fingers and under your nails.
- Rinse well with warm water.
- Dry with a soft, clean towel to ensure no moisture remains on the nails.
Clean and dry hands will make the next manicure steps much easier and more effective.
Step 2: Remove Previous Nail Polish
Before applying a new coat of polish, you need to completely remove any old polish to ensure a clean, smooth surface that allows the new color to last longer and look more vibrant.
How to do it:
- Prepare tools: nail polish remover (preferably non-acetone for a gentler effect) and soft cotton pads.
- Apply remover: Soak a cotton pad with an appropriate amount of nail polish remover.
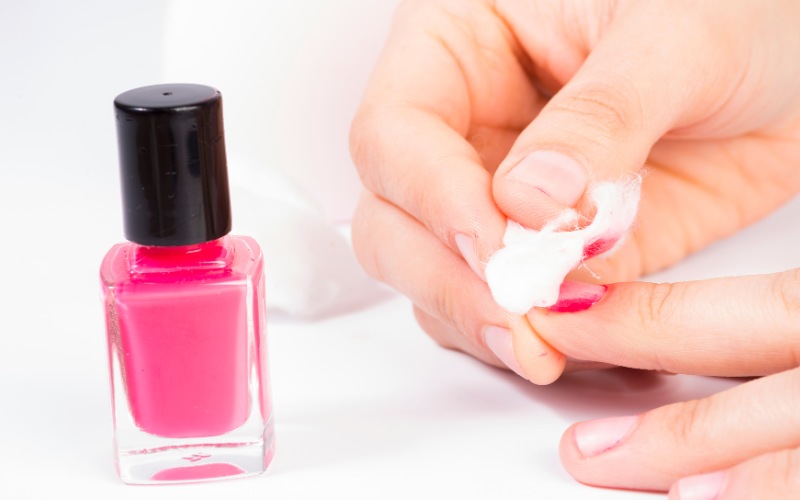
- Clean nails: Place the pad on your nail for a few seconds to soften the old polish, then gently wipe from cuticle to tip in one direction.
Note: Avoid rubbing back and forth repeatedly, as it can weaken the nails and cause breakage.

Removing old nail polish is one of the most important steps before starting your at-home manicure.
Step 3: Trim and File Nails to the Desired Length and Shape
Before moving on to cuticle care and polish, trimming and shaping your nails is crucial to achieving a neat, professional-looking manicure.
How to do it correctly:
- Trim nails: Use a good-quality nail clipper to cut nails to your desired length. Cut straight across instead of at an angle to prevent ingrown nails.
- File nails: Next, use an emery board to shape your nails (round, square, oval, etc.). Always file in one direction rather than back and forth to avoid cracks or splits.
- Clean under nails: Take this step to remove any dirt beneath the nails for a brighter, healthier look.
Tip: File gently without applying too much pressure to protect nail structure and keep them strong.
Step 4: Soak Nails and Care for Cuticles
This step focuses on softening the cuticles around your nails, making them easier to care for. Depending on your preference, you can either trim them or simply push them back.
How to do it:
- Soak hands: Prepare a bowl of warm water with a little mild soap. Soak your hands for about 3–5 minutes to soften the skin around your nails.
- Cuticle care:
- If trimming: Use a quality cuticle nipper to carefully remove dead or excess skin, but avoid cutting too deeply to prevent injury.
- If pushing back: Use a cuticle pusher with a rounded end to gently push cuticles back toward the nail base, making nails look longer and neater.
Note: Do not cut too much skin, as cuticles protect nails from bacteria. Always keep the process gentle and hygienic for healthy, beautiful nails.

Soaking and cuticle care is an essential step when learning How To Do a Manicure at Home.
Step 5: Exfoliate and Moisturize Hands
Before moving on to polish, don’t forget to pamper your hands. Exfoliating and moisturizing not only keep your skin soft but also enhance the overall appearance of your manicure, making it look more polished and luxurious.
How to do it:
- Exfoliate: Use a gentle hand scrub or exfoliating gloves. Massage in circular motions, focusing on dry areas such as knuckles and the back of the hands. Rinse thoroughly afterward.
- Moisturize: Apply hand cream or lotion. Massage it into your palms, the back of your hands, and around the cuticles for a few minutes to allow deep absorption, leaving your skin soft and revitalized.
Soft, smooth hands create the perfect canvas to highlight the beauty of your manicure.
Step 6: Choose a Color You Love
To make your hands look elegant and stand out, choosing the right nail polish color plays a very important role. Instead of blindly following trends, it’s better to pick shades that harmonize with your skin tone, nail length, and personal style.
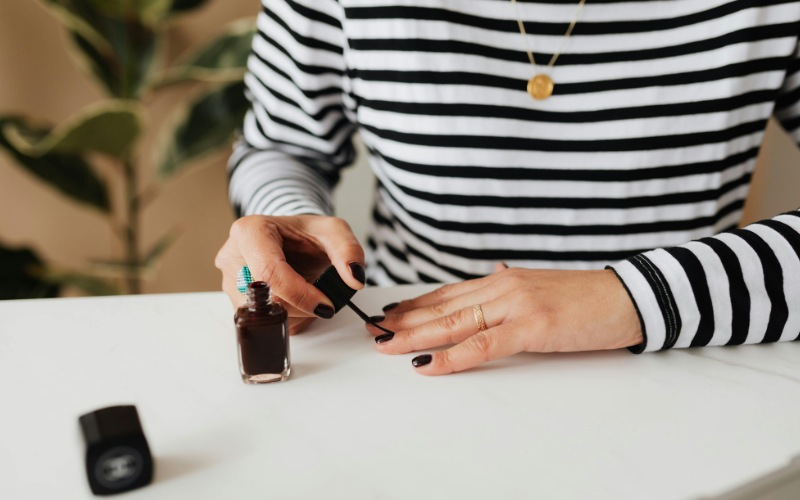
For instance, nude, light pink, or pastel tones create a soft and elegant vibe, while burgundy, earthy brown, or black bring out a bold, sophisticated charm. Especially if you often change your outfits, neutral shades will be your “safe weapon,” ensuring your hands always look chic in any situation.

Choosing your favorite nail color is one of the advantages that helps you have beautiful hands that match your personal style.
Step 7: Apply Base Coat
The base coat is a crucial step in your at-home manicure routine. Not only does it help the nail polish adhere smoothly and evenly, but it also prevents chipping and protects your nails from staining or yellowing.
How to apply it properly:
- Prep your nails: Make sure your nails are completely clean and dry before applying. You can gently wipe them with a bit of nail polish remover to get rid of any oils or leftover lotion.
- Apply base coat: Use a high-quality product such as Multicare Base + Top Coat. Apply a thin, even layer from the nail base to the tip.
- Wait to dry: Allow the base coat to dry naturally for a few minutes before moving on to the next step.
Pro tip: A thin but precise base coat will determine both the durability and the professional finish of your manicure.
Step 8: Apply Your Nail Polish
To achieve a salon-like finish at home, proper nail polish application is key. Follow these steps for best results:
- Mix the polish evenly: Before opening the bottle, roll it gently between your palms to blend the color. Avoid shaking it hard, as that can create air bubbles and cause streaks.
Apply thin coats: Dip the brush into the polish and take just the right amount, then paint a thin layer on your nail. Start at the center near the cuticle, drag the brush down to the tip, and then cover both sides. - Layer for opacity: Wait about 2 minutes until the first coat is dry to the touch. Then, apply a second thin coat for richer, more even color.
Pro tip: Always choose multiple thin coats instead of one thick layer—this ensures quicker drying, a smoother finish, and longer-lasting wear.

Applying a base coat and following these polish steps is an essential part of How To Do a Manicure at Home.
Step 9: Finish Your Mani With a Top Coat
To make your manicure glossy and long-lasting, the top coat is the final and indispensable step. Apply it carefully with these tips:
- Check polish dryness: Before applying, ensure your nail polish is relatively dry. Lightly touch two nails together – if they still feel sticky, wait a few more minutes.
- Smooth application: Starting at the nail base, drag the brush gently to the tip in even strokes. Be light-handed to avoid smudging the polish underneath.
- Seal the edges: Don’t forget to cover the tips of your nails with a top coat. This seals the polish, prevents chipping, and extends the life of your manicure.
A flawless top coat not only adds a gorgeous shine but also makes your manicure look more professional, durable, and sophisticated.
Step 10: Dry Your Nails Sufficiently
When doing your manicure at home, patience is key. Allowing your nails to dry completely is a step many people overlook. If you rush to touch things or do chores right after polishing, the polish can smudge, chip, or develop unwanted marks – ruining all your effort.
Letting your nails dry thoroughly ensures:
- Better adhesion of polish
- A smooth, glossy surface
- Longer-lasting, chip-free wear
This patience will reward you with a beautiful, durable, and flawless manicure.
This article has revealed to you the 10 Easy Steps to a Manicure at Home. Not only does this routine save you time and money, but it also gives you the freedom to customize your nail color to match your mood and style. With these simple steps – and a little bit of care – you can achieve soft, well-groomed hands and chic, salon-quality nails right at home.

